Posted at November 14, 2014 @ 4:03 pm by marknet
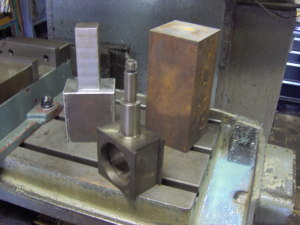
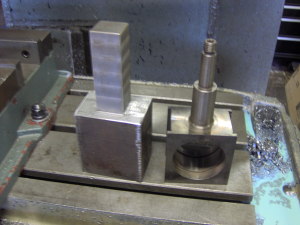
The machining process for making the bearing carrier is shown below. Our customer provided a sample piece for us to duplicate. The stock was burned from a piece of A36 steel plate.
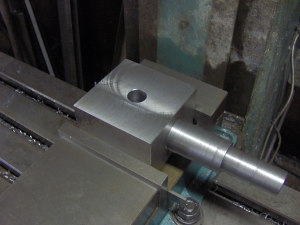
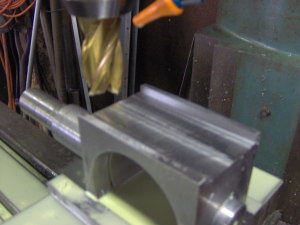
The stock was held in a vise and the shank was roughed to about 1 3/4″ square.
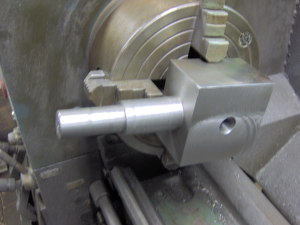
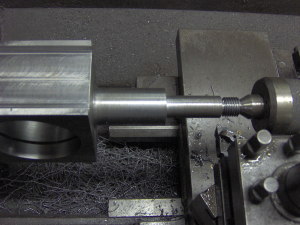
The stock was held in a 4 jaw chuck and precisely centered. The shank was rough turned and then held in a 5C collet chuck to turn the holding stub on the opposite end.
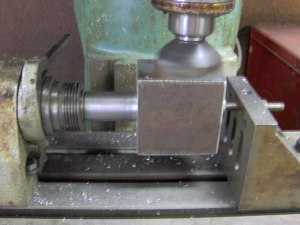
The work was held in a 5C collet indexer to maintain concentricity. The faces and sides were then milled to the proper dimensions.
With the square block dimensions milled to size, the work was held in a milling vise and the bearing bore was precisely located. A pilot hole was then drilled and reamed.
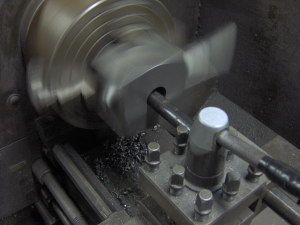
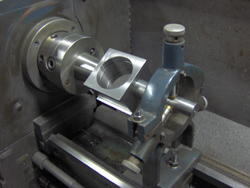
The work piece was moved to the small engine lathe and held in a 4 jaw chuck. A 3/4″ diameter ground rod was inserted through the pilot hole and mounted between centers to help with alignment. The bore was checked with dial indicators before cutting.
The bore was turned 0.002″ undersize and two snap ring grooves were cut. The bore was then polished for a zero fit on the bearing diameter.
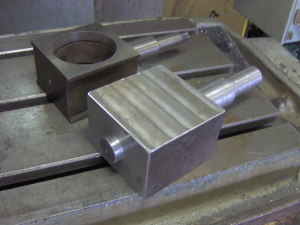
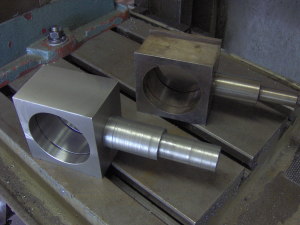
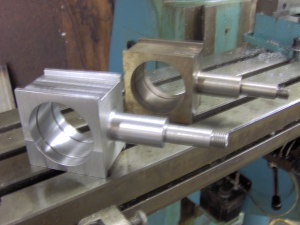
The image below shows the work piece with the finished bearing bore.
The work was held in a milling vise and steps were machined on either side. The sides of the work piece act as guides to maintain bearing alignment as the block is adjusted up and down.
The short holding stub was secured in a collet chuck and the shank held with a steady rest. The work piece is now ready for the 1/8″ diameter oil hole to be drilled through the shank and into the bearing bore.
The steady rest was removed and a live center was inserted into the end of the shank. The outside diameter was finished, a radius cut where the shank meets the block, and metric threads were cut.
The steady rest was set up again and an 1/8″ NPT thread was tapped in the end of the shank.
The work was held by the shank in a collet chuck and the holding stub faced off the block end. All sharp edges were removed and a final inspection was performed.

